by http://rakaz.nl
An iPhone Webapp is little more than a website specially build or adapted for the iPhone. It’s just a standard HTML page, sprinkled with some CSS and JavaScript. While browsing websites on a phone may sound quite limited and problematic, Safari – the browser on the iPhone – is perhaps one of the most advanced browsers around and surpasses on some areas even desktop browsers. Still, the Webapp runs in a browser and that causes some problems for those of you who want to make the application look and feel like a native app. Instead of making the application feel like a webpage we want to do away with the default behaviours and interface of Safari.
ADDING YOUR APP TO THE HOME SCREEN
One of the first problems web app developers will face is turning the app from a webpage that runs inside of Safari into a web app that can be launched from the iPhone home screen. Apple has made this easy for us; Safari has some build-in functionality for installing websites on your home screen. Just load the application in Safari and click on the + button in the bottom toolbar. Then select Add to Home Screen.
There are some things you may want to keep in mind if you want to run your Webapp on the home screen. First of all the title on the home screen can be customized by the user, but the default is the title of your webpage. There is limited space beneath each icon. I would suggest keeping the title of your webpage and thus the name of the home screen as short as possible. My own application is called MediatankController for iPhone and iPod Touch. You can imagine this will not fit on the home screen. So I simply use the title Mediatank which fits perfectly underneath the icon.
<title>Mediatank</title>
Icons
 This brings us to the icon itself. By default the iPhone will take a little screenshot of the application and turn it into an icon. Fortunately there is also a way to specify your own custom icon. First of all you will need to fire up Photoshop or your preferred application and create the action icon. The width and height of the icon must be exactly 57 pixels by 57 pixels. You don’t need to add the reflection or add the rounded corners to your icon that is something the iPhone will do itself. There are some good tutorials on the web so I will continue with the assumption that you have created the icon and saved it as a PNG file.
You can now tell the iPhone to use that icon by adding a link element to the head of your webpage. The link element has a custom rel attribute with the value apple-touch-icon.
<link rel="apple-touch-icon" href="index.png">
Precomposed icons
 If you want to add the reflection to the icon in only specific regions, you can also instruct the iPhone to leave the icon alone. In that case you can simply add the reflection in Photoshop instead; this is what Apple calls a precomposed icon. Even if you use a precomposed icon, the iPhone will still add the rounded corners. It is simply not possible to create rectangular icons. The example of a precomposed icon is only subtly different from the regular example above. Just take a look at the gray gradient on the background of the icon. In the normal icon the reflection extends into the background, while in the precomposed icon it is only visible in the black circle.
<link rel="apple-touch-icon-precomposed" href="index.png">
RUNNING YOUR APP FULL SCREEN
 We’ve got our app on the home screen, but it still launches Safari and doesn’t run full screen. The trick is to add a custom
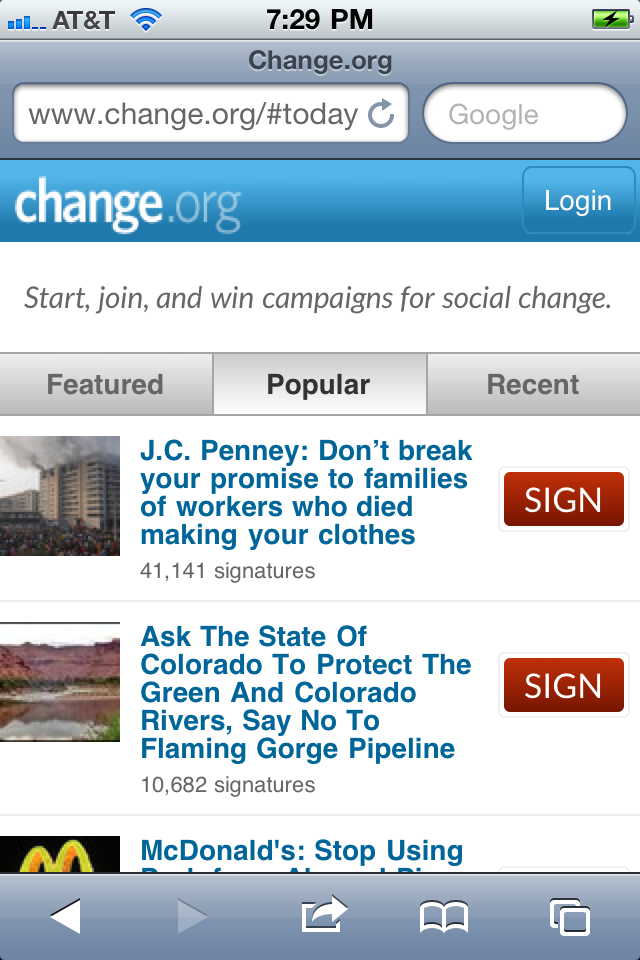
 meta tag with the name apple-mobile-web-app-capable that will tell the iPhone to launch this application as a Webapp instead of a normal web page. This will remove the top address bar and the toolbar at the bottom. This also means that you must supply the complete navigation of the application, because the back button will also be gone.
A side effect of this meta tag is that the application will also act differently if it is running inside of Safari. Instead of a fixed address bar, it will remove the address bar after each reload. You can get the address bar back by manually scrolling back to the top.
<meta name="apple-mobile-web-app-capable" content="yes">
REMOVING THE DEFAULT ZOOM AND PINCH GESTURES
 The Webapp runs full screen, but it still looks and feels like a normal website. You can use gestures to zoom in. This includes any interface elements that you created. If a native app allows you to resize the contents, such as a photo it will not resize the user interface components such as the toolbar and any buttons.
Secondly the width of the page is wider than the screen, which requires vertical scrolling. Most native apps that require scrolling only allow you to scroll in one direction. Most apps are taller than the screen instead of wider than the screen. The default Safari behaviour is different from how most native apps look, so we need to remove these behaviours. Luckily this is quite simple and requires that we add another meta tag with the name viewport.
<meta name="viewport" content="width=device-width; initial-scale=1.0; user-scalable=0;">
If you look closely at the viewport meta tag, you’ll notice that we give a couple of separate instructions:
width=device-width, which sets the width of the web page to the width of the screen. In case you hold the iPhone vertically this will be 320 pixels, if you hold the iPhone horizontally it will be 480 pixels.initial-scale=1.0, when the application launches it will not be zoomed in or out.user-scalable=0, turns of the ability to zoom in or out using gestures.
The result is a web page that is always 320 pixels or 480 pixels wide depending on how you hold the phone and cannot be zoomed in or out. However, if the page is taller than the screen is capable of showing, the user will still be able to use the default gestures to scroll to the bottom.
DISABLING THE CALLOUT SHEET
 We now have a Webapp that runs full screen and is always shown at the correct scale. Most tutorials stop here, but during the development of my own Webapp I ran into a couple more issues. The first is the fact that every time the user touches and holds a link or image a callout sheet will appear giving some options such as save the image, copy the link or opening the link in a new window. This is something we want to prevent, because while we may use links, those are only for internal navigation inside our Webapp and not links in the traditional sense.
Disabling the callout sheet is quite simple and can be achieved by adding the -webkit-touch-callout CSS property and setting it to none. Now you can hold any link or image for as long as you want without getting the default Safari behaviour.
<style type="text/css">
<!—-
    * {
        -webkit-touch-callout: none;
    }
-->
</style>
REMOVING THE HIGHLIGHT COLOUR FROM LINKS
 One of the little things that bothered me quite a bit was the fact that Safari will add a transparent highlight colour to a link after it has been clicked. For a webpage that might be useful, but when I create a button I want to define the active state myself and I definitely don’t want some transparent colour to cover up my carefully created buttons.
Once again this can be achieved by a little CSS code. The highlight colour can be customized using the -webkit-tap-hightlight-color property, which supports all of the regular colour values. One colour value is particularly interesting to us:rgba, which allow us to specify the transparency of the colour. We don’t want it at all, so we can make it completely transparent.
<style type="text/css">
<!—-
    * {
       -webkit-tap-highlight-color: rgba(0,0,0,0);
    }
-->
</style>
PREVENT THE AUTOMATIC RESIZING OF TEXT
One particular handy feature of Safari is that it is able to resize text automatically and reformat it for use on the smaller screen of the iPhone. If we want to build a Webapp this feature will need to be disabled, because it is only useful for websites which are formatted for a large screen. Our Webapp is build for use on the iPhone and does not need any help from Safari to make it more readable.
<style type="text/css">
<!—-
    * {
       -webkit-text-size-adjust: none;
    }
-->
</style>
DISABLING OR LIMITING COPY AND PASTE
 Finally there is one thing left to do. Disabling or limiting the most sought out feature of iPhone OS 3.0: Copy and Paste. Once again this feature makes sense on a web page, but for most interface elements of an application it is certainly not wanted. We don’t want our users to be able to select and copy the buttons, the header or the footer.
Using the -webkit-user-select property we can determine which elements can be selected and which cannot. My advice is turn it off completely by default and enable it only for those elements you want to be able to be copied.
<style type="text/css">
<!—-
    * {
        -webkit-user-select: none;
    }

    .instructions {
        -webkit-user-select: text;
    }
-->
</style>